 BJCRUM
Build Mode
Use Build Mode to have BJCRUM create pages, features, and functionality directly, from your first prompt to ongoing product changes.
Build Mode is where BJCRUM turns your instructions into changes inside your application.
Use Build Mode when you're ready for BJCRUM to create, modify, or implement something.
You can use it to build an entire application from your first prompt or make a small change to a product you've been working on for months.
If you know what you want BJCRUM to create or change, Build Mode is usually the place to start.
What Build Mode does
When you submit a request in Build Mode, BJCRUM works directly on your project.
Depending on your request, BJCRUM may:
- Create new pages
- Build components
- Change existing designs
- Add application features
- Create forms and workflows
- Add database functionality
- Implement authentication
- Create APIs and server-side logic
- Connect external services
- Modify existing functionality
- Fix implementation issues
You describe the outcome you want, and BJCRUM handles the implementation required to achieve it.
Starting a build
Select Build from the mode selector.
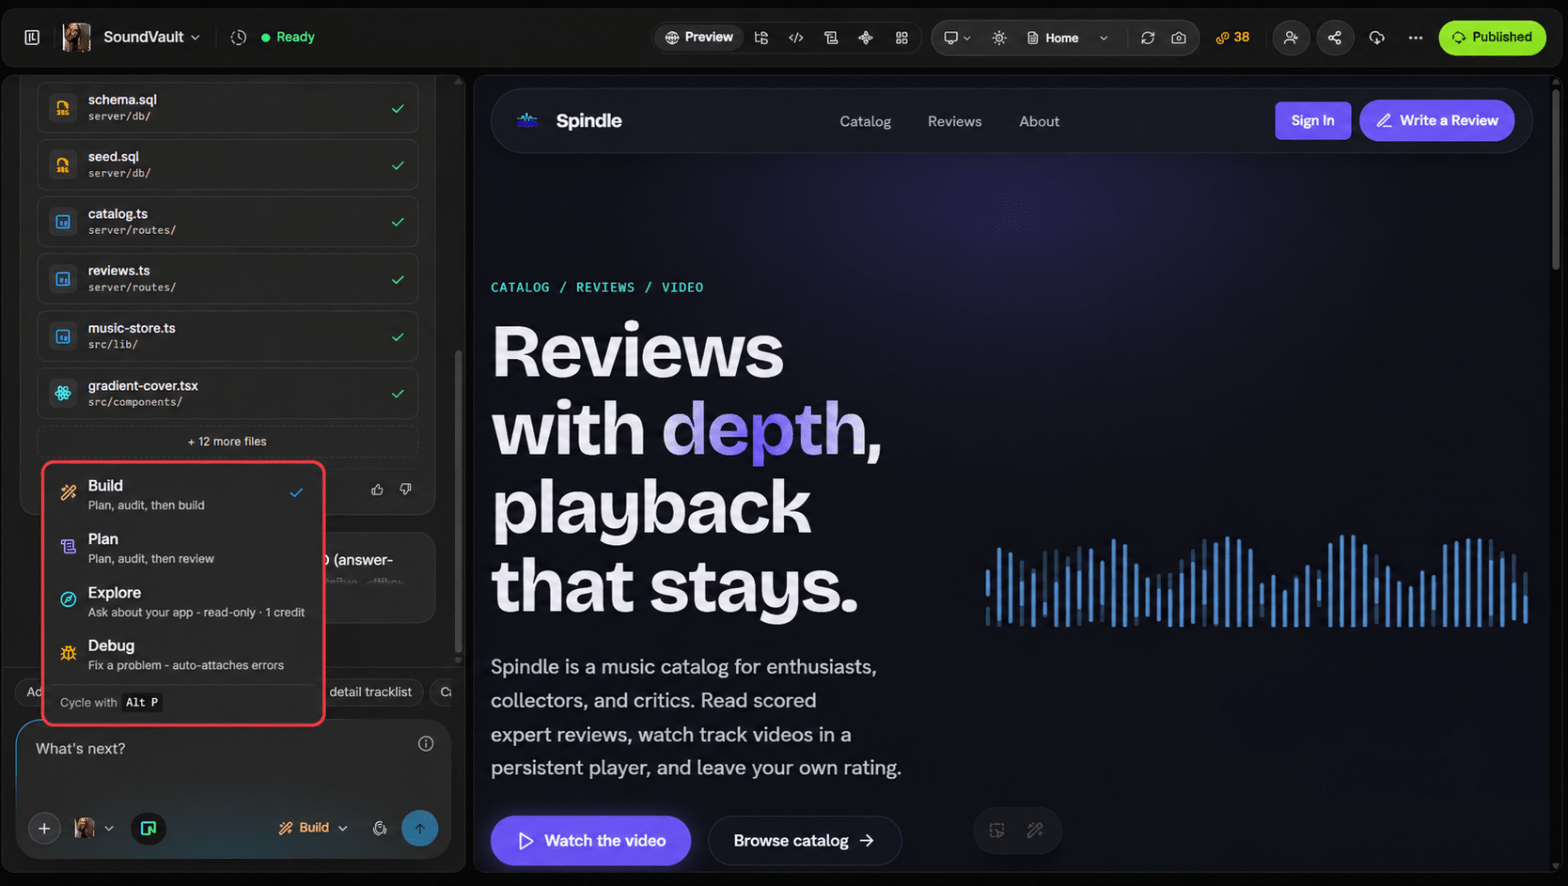
Then describe what you want BJCRUM to do.
For example:
Add a Projects page to the construction website. Display completed projects in a responsive grid with a large project image, project name, location, project type, and completion year. Add filters for Residential, Commercial, and Infrastructure.
Submit your request and BJCRUM will begin working on the project.
Building a new application
You can use Build Mode from the very beginning of a project.
For example:
Build a modern booking application for a beauty salon. Customers should be able to browse services, choose a stylist, select an available date and time, and make a booking. Staff should have a dashboard for viewing and managing appointments.
BJCRUM can use this request to begin creating the application.
For straightforward products, you may not need to create a detailed plan first.
For more complex products, consider using Plan Mode before starting the build.
Building from an approved plan
Build Mode becomes especially powerful when you've already worked through a complex feature in Plan Mode.
The workflow becomes:
Plan
Describe the feature and let BJCRUM determine what needs to be built.
Review
Review the specification and correct anything that isn't right.
Approve
Confirm the direction once you're satisfied with the plan.
Build
Move to Build Mode and implement the approved specification.
This separates product decisions from implementation.
For complex work, that can make the development process much easier to manage.
Watch BJCRUM work
Once a build starts, BJCRUM begins making the changes required by your request.
Depending on the size of the task, this may involve several parts of your application.
BJCRUM may create or modify:
Frontend
Pages, layouts, components, forms, navigation, responsive interfaces, and other user-facing elements.
Backend
Application logic, APIs, database interactions, authentication, and server-side functionality.
Integrations
Connections to external services required by the feature.
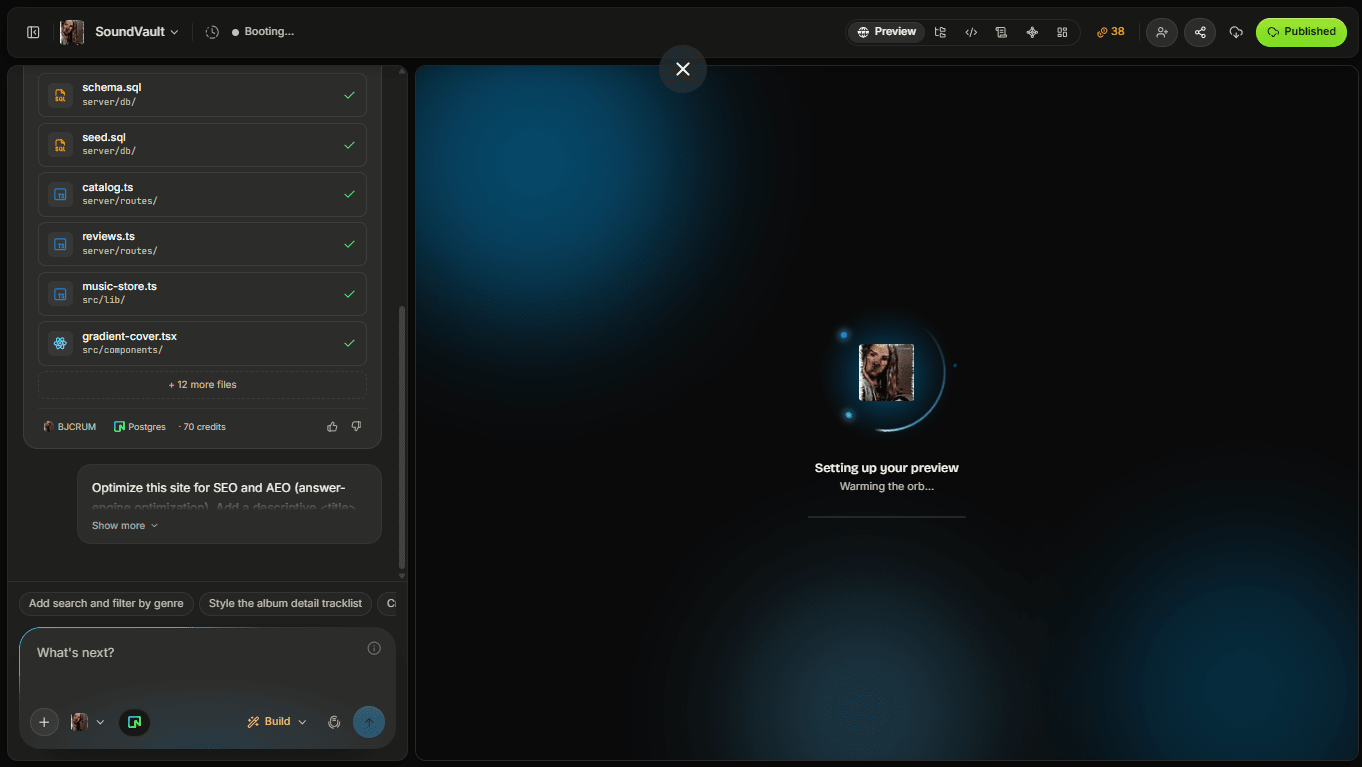
As BJCRUM works, you can follow the progress from the project workspace.
Review the result
Once the build completes, inspect what BJCRUM created.
Don't only look at whether the page appears.
Interact with the application.
For example, if BJCRUM built a lead management feature:
- Create a lead
- Edit the lead
- Search for it
- Apply filters
- Refresh the application
- Check whether the data persists
- Try the experience on mobile
- Test empty and error states where relevant
The goal is to review the feature as a user, not just as a screenshot.
Continue with follow-up prompts
You don't need to get everything perfect in one build.
Continue talking to BJCRUM.
For example, after building a dashboard:
Make the upcoming tasks section more prominent and move recent activity below the project list.
Then:
Add a date range filter to the dashboard metrics.
Then:
Make the dashboard cards stack into a single column on small mobile screens.
Each instruction evolves the existing application.
Tell BJCRUM what should stay unchanged
When you're modifying an application, it can be useful to explicitly protect parts that already work.
For example:
Redesign the hero section to make it feel more premium. Keep the existing navigation, brand colors, page content, and all sections below the hero unchanged.
Or:
Add filtering to the customer table. Don't change the existing customer creation or editing functionality.
This helps define the scope of the build.
Build features in logical increments
You don't have to ask BJCRUM to implement an entire complex product in one enormous build.
Breaking major work into logical stages gives you opportunities to review each part.
For example, when building a marketplace:
Build 1: Accounts
Add customer and seller authentication with separate onboarding experiences.
Build 2: Listings
Allow sellers to create, edit, publish, and archive product listings.
Build 3: Discovery
Build the marketplace browsing experience with search, categories, filters, and product detail pages.
Build 4: Transactions
Add the purchasing workflow and payment integration.
Build 5: Seller dashboard
Create a seller dashboard for managing listings, orders, and revenue.
This makes it easier to test the product as it grows.
Build Mode can work with your existing application
Build Mode isn't only for new projects.
You can open an existing BJCRUM project and continue from where you stopped.
For example:
Add a notification system to the existing application. Don't redesign the current dashboard. Add a notification icon to the existing header and allow users to mark notifications as read.
BJCRUM works within the context of your existing project.
This is part of what makes BJCRUM an ongoing product development environment rather than a one-time application generator.
When to use Plan instead
Build Mode is best when the direction is clear.
Switch to Plan Mode first when you're making a change that requires significant decisions.
For example:
Convert this application into a multi-tenant SaaS where companies can create separate workspaces, invite users, assign roles, and maintain completely isolated data.
That's not just a UI change.
It affects authentication, authorization, database architecture, application state, APIs, and potentially existing data.
Planning first gives BJCRUM an opportunity to reason through those dependencies.
A simple rule:
If you know what needs to change, Build. If you need to figure out how a major change should work, Plan first.
Build Mode vs Plan Mode
| Build Mode | Plan Mode | |
|---|---|---|
| Creates or modifies your app | Yes | No |
| Best for implementation | Yes | No |
| Best for quick changes | Yes | Usually not |
| Creates a detailed specification first | Not necessarily | Yes |
| Best for major architectural decisions | After planning | Yes |
| Useful throughout a project | Yes | When needed |
They are designed to work together rather than compete with each other.
What if the build isn't right?
You don't have to start over.
First, tell BJCRUM specifically what isn't correct.
Instead of:
This isn't right.
Try:
The new customer form is correct, but after creating a customer the modal stays open and the customer doesn't appear in the table until I refresh the page. Keep the form design unchanged and fix those two issues.
If something is genuinely broken and requires investigation, switch to Debug Mode.
A good Build Mode habit
For meaningful features, use this loop:
Request → Build → Test → Refine
Don't judge a build only by appearance.
Ask:
- Does it look right?
- Does it behave correctly?
- Does the data persist?
- Does it work for the intended user?
- Does it work on different screen sizes?
- Did anything that previously worked break?
Then give BJCRUM your next instruction.
Build continuously
Your application doesn't have to be finished after the first generation.
You might begin with:
Build a client portal for my agency.
Then over time add:
Client onboarding.
Project management.
Invoice tracking.
Team permissions.
Automated email updates.
Analytics.
The application evolves through successive builds as your needs change.
That's the core idea behind working with BJCRUM as your AI product team.
Next: BJCRUM Min vs BJCRUM Max
Now that you know when to use Build and Plan, the next decision is how much reasoning your task requires.
Next, we'll look at BJCRUM Min vs BJCRUM Max: when to prioritize speed and when to use deeper reasoning.